Category Archives: Homebrew

DIY Stirplate Build using the DigitalHomebrew.com DIY Magnetic Stirplate Kit

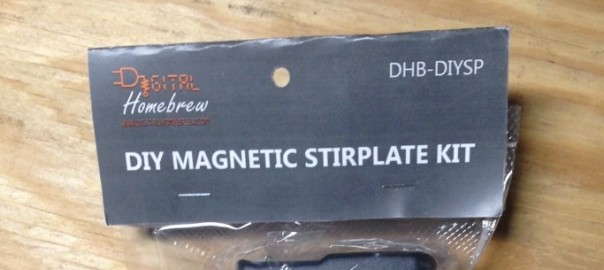
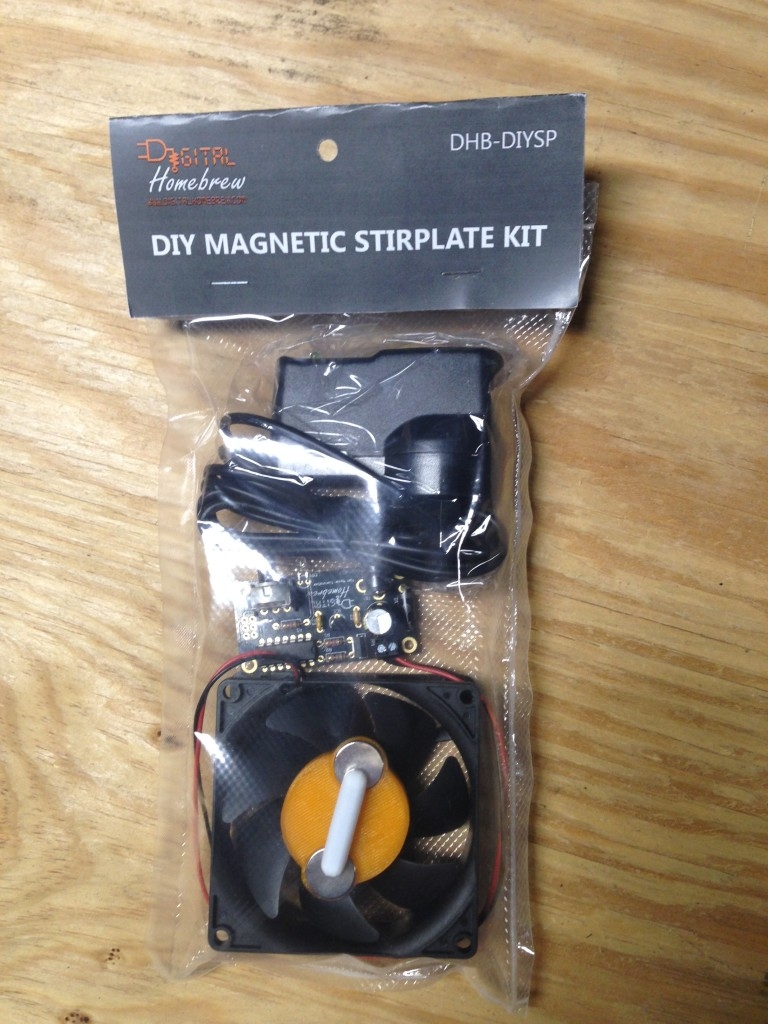
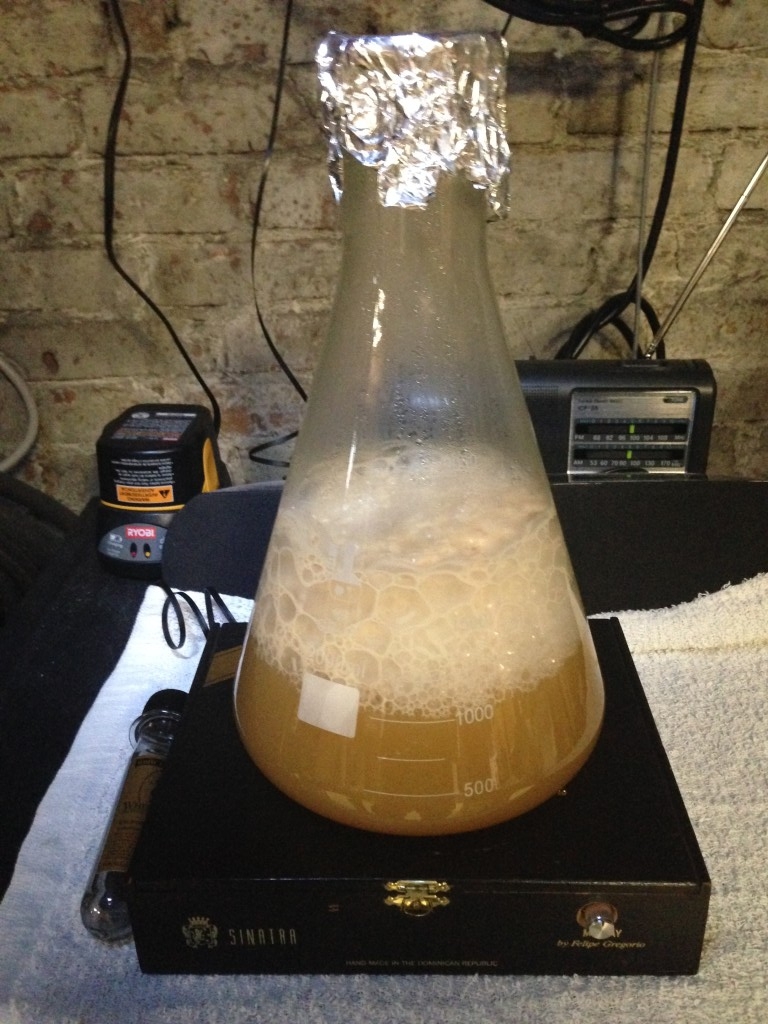
I received a  DIY Magnetic Stirplate Kit from DigitalHomebrew.com the other day and documented this stirplate build and review.  I am really impressed with this kit. It’s the first of it’s kind that I have seen. Typically you need to either buy a stirplate or build it using spare parts.

Prior to seeing this, the easiest method was to use the Thermaltake USB fan as I did in my post here: DIY Stir Plate for Homebrew Yeast Starters. But this contains all the parts needed in one bag (minus the enclosure). PLUS the magnets come affixed to the fan and tuned to the included stirbar. I’d have to say the hardest part of my Thermaltake build was getting the HDD magnets centered for the stirbar I chose.

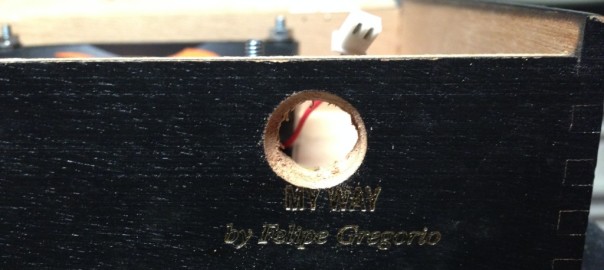
Continue reading DIY Stirplate Build using the DigitalHomebrew.com DIY Magnetic Stirplate Kit

DigitalHomebrew.com – DIY Magnetic Stirplate Kit Review

After posting my DIY Stir Plate for Homebrew Yeast Starters post I was contacted by the folks over at DigitalHomebrew.com in regards to their DIY Magnetic Stirplate Kit. I had one shipped to me so I could check it out and write another documented build post.

IMG_3690

While the “kit” I previously used from Thermaltake included many of the parts needed to make a magnetic stir plate, this kit includes everything but the enclosure.

That means, in the bag, you get: computer fan with two rare earth magnets properly centered and fixed to the fan, a potentiometer to control the speed that also serves as an on/off switch, an LED power indication light, a stir bar, and a power supply.

Continue reading DigitalHomebrew.com – DIY Magnetic Stirplate Kit Review

Brewday April 25th 2014: Jamil’s Blonde Ale

This is a “re-do” of my extract version of this recipe. It’s a blonde ale from Jamil Zainasheff’s Brewing Classic Styles book. I had taken a big brewing hiatus and jumped back in with an extract version of this recipe. The US05 yeast I had didn’t kick off after about 72+ hours so I repitched. I had some fermentation temperature issues and the resulting beer just tasted off.

This will be my first brew using liquid yeast and my new stir plate. I need a .75 liter starter for this batch but I made a 1.25 liter one with the goal of splitting it and preserving 500 ml. What that will accomplish is that I will be able to use that 500 ml later to create a new yeast starter instead of buying another $7 vial of yeast.

Then when it is time to make that starter, I will save 500 ml again and the cycle will continue. This is following the “Novel Approach” yeast starter technique.

Continue reading Brewday April 25th 2014: Jamil’s Blonde Ale

DIY Stir Plate for Homebrew Yeast Starters

Up until now I have only used dry yeast for my homebrew creations. This limits me in what types of brews I can create as the various strains of liquid yeast far outnumber the dry strains. As an example, I am planning to brew a Kolsch soon, and there is no available dry yeast strain for that.

The purpose of a yeast starter is to build up the number of viable yeast cells from the amount that comes in a vial of yeast from the store. A vial of California Ale Yeast (WLP001) will have roughly 96 billion yeast cells. For a 5.5 gallon beer with a 1.050 original gravity, you will want to use about 192 billion. A starter is a mini fermentation that builds up the yeast as they feed on the sugars in the mash you’ve made.

A magnetic stir plate escalates the growth in the yeast starter by spinning a magnetic stir bar at the bottom of the flask containing the starter. I can grow that 96 billion to 192 billion with a .75 liter starter on the stir plate, opposed to 131 billion without. These numbers we calculated from the beersmith app.

Here is a video of a stir plate in action from Beer Geek Nation:


Continue reading DIY Stir Plate for Homebrew Yeast Starters

Brew Kettle Ball Valve Installation Project

I just installed a ball valve onto my Bayou Classic 44 Quart brew kettle so I can drain my chilled wort directly to the fermenter. I typically use an auto-siphon for racking from kettle to fermenter but felt the ball valve would give me a faster transfer, one less thing to clean and sanitize and look better. It should also give me a more consistent water volume left behind.

Parts

* The ball valve kit I got is configured like so: Standard bulkhead, stainless 2 piece valve, 90 degree elbow inside, 1/2″ hose barb for valve.

Continue reading Brew Kettle Ball Valve Installation Project

Tasty Brewdog Treats™

IMG_3384For dog owning home brewers: after I finish the mash I scoop a few cups of spent grain into a bowl for making dog treats. I let it cool, cover and put them in the fridge. I make sure to use them within a few days or it’ll go bad.

If you do any mash hopping, DO NOT USE the resulting grain. Dogs are very allergic to hops.

Here is the recipe that I use:

  • 2 cups of spent grain
  • 1 cup of flour
  • 1/2 cup of peanut butter
  • 1 egg

Continue reading Tasty Brewdog Treats™

Brewday April 3rd, 2014: Yooper’s House Pale Ale

I am brewing a half batch (2.5 gallons) of an American Pale Ale tonight. Doing a smaller batch in order to save a little time on getting the water to temp and cooling afterwards. Seems to be my routine lately to alternate between a 5 gallon and 2.5 gallon batch.

I’ll be brewing a recipe from Yooper (moderator at HomeBrewTalk.com) called Da Yooper’s House Pale Ale.

Continue reading Brewday April 3rd, 2014: Yooper’s House Pale Ale