
I received a DIY Magnetic Stirplate Kit from DigitalHomebrew.com the other day and documented this stirplate build and review. I am really impressed with this kit. It’s the first of it’s kind that I have seen. Typically you need to either buy a stirplate or build it using spare parts.
Prior to seeing this, the easiest method was to use the Thermaltake USB fan as I did in my post here: DIY Stir Plate for Homebrew Yeast Starters. But this contains all the parts needed in one bag (minus the enclosure). PLUS the magnets come affixed to the fan and tuned to the included stirbar. I’d have to say the hardest part of my Thermaltake build was getting the HDD magnets centered for the stirbar I chose.
Here is the kit:
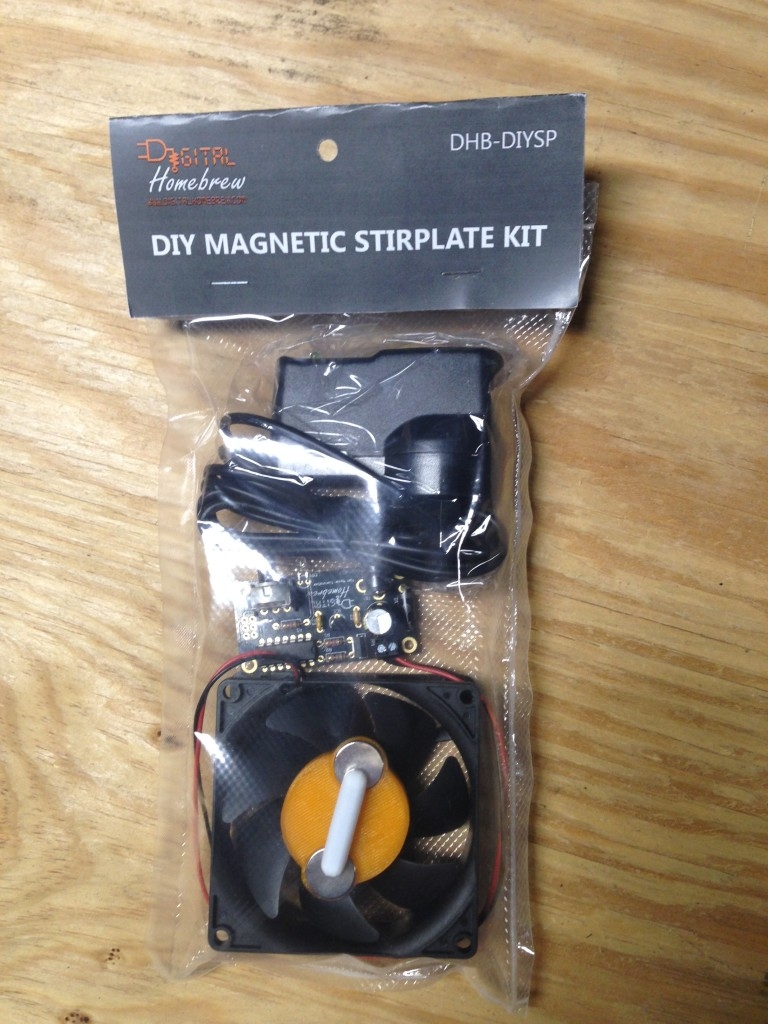
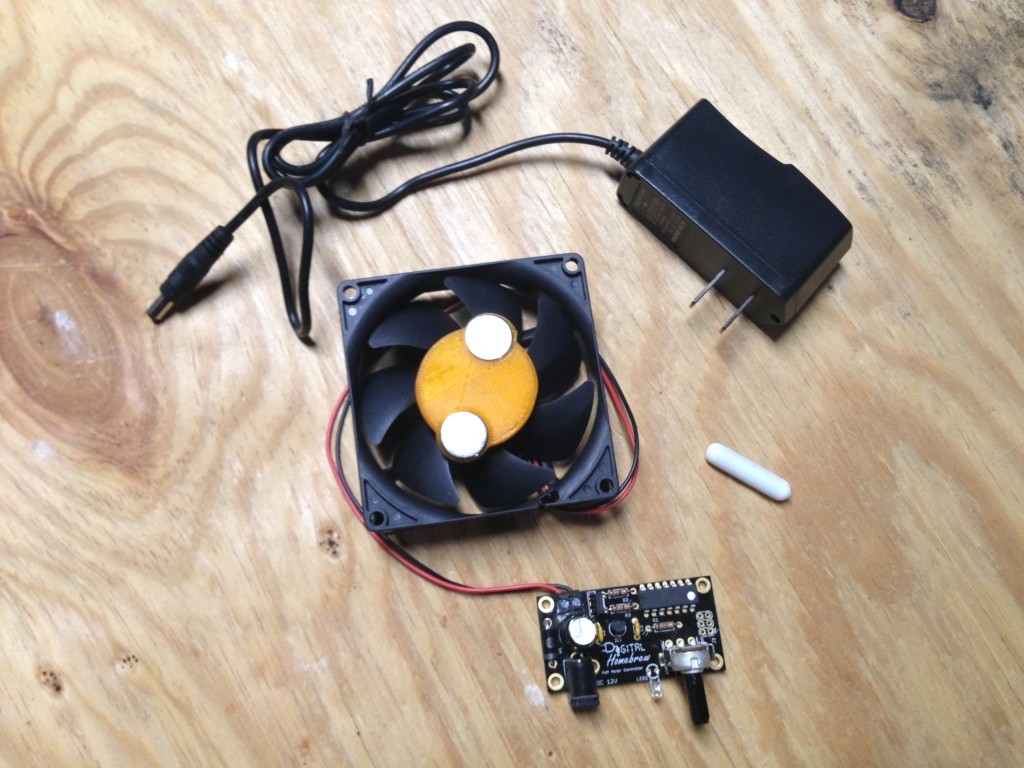
Included in the kit are the following parts:
- Computer fan
- Speed control (rheostat)
- Power supply
- Two rare earth magnets
- Stir bar
Basically the guts of the stirplate, completely assembled. All that is needed is an enclosure, hardware to mount it, and tools.
Lets get to it.
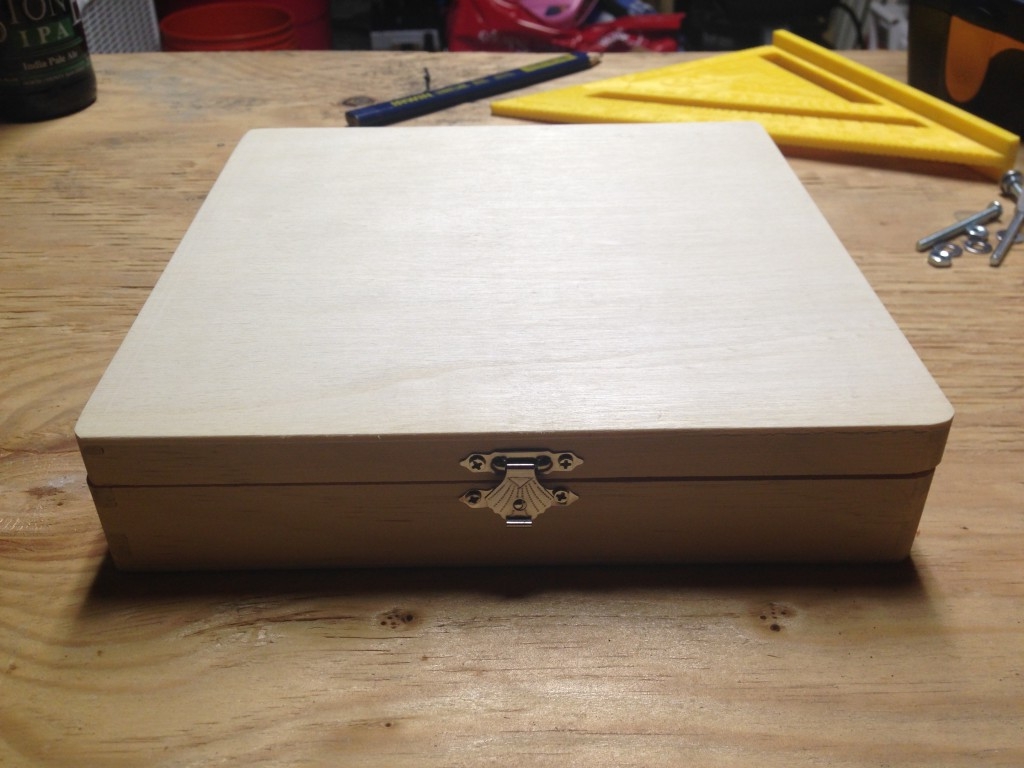
Simple wooden box from Michael’s Crafts
I started with a wooden box from Michael’s Crafts. A similar craft box or cigar box will work fine.
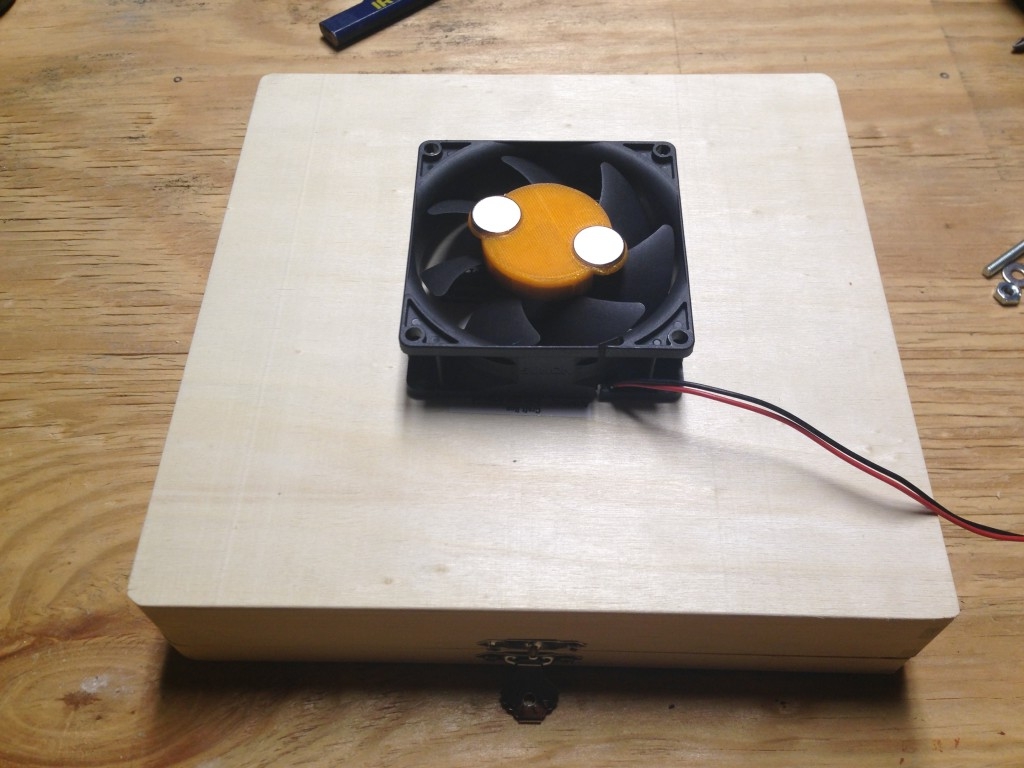
Aligning Fan for Drilling
I flipped the box over and placed the fan in the center. Then I drilled through the holes at the four corners.
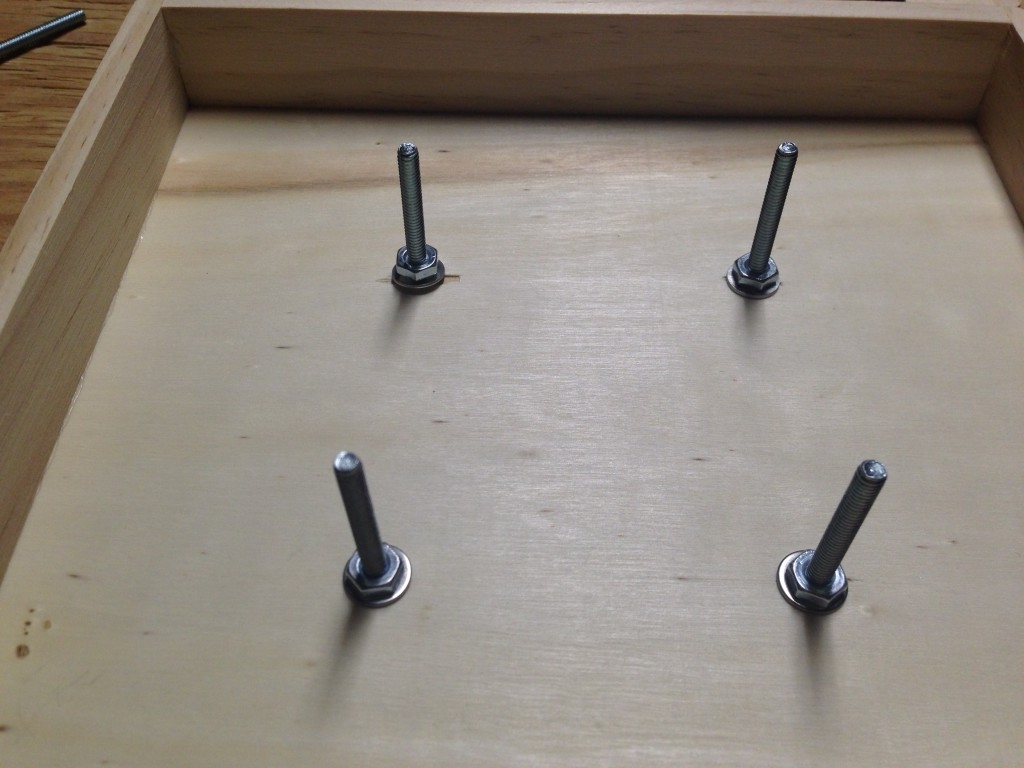
#8-32 Machine Screws as Mounting Posts
I inserted four #8-32 machine screws (I used 1.5″, but it will depend on the enclosure you choose) through a washer and up through the bottom of the wooden box using the holes I just drilled. I then secured the screws with another washer and nut. I believe I wound up using two nuts on each screw to get the fan closer to the lid.

Install the fan onto the screw posts
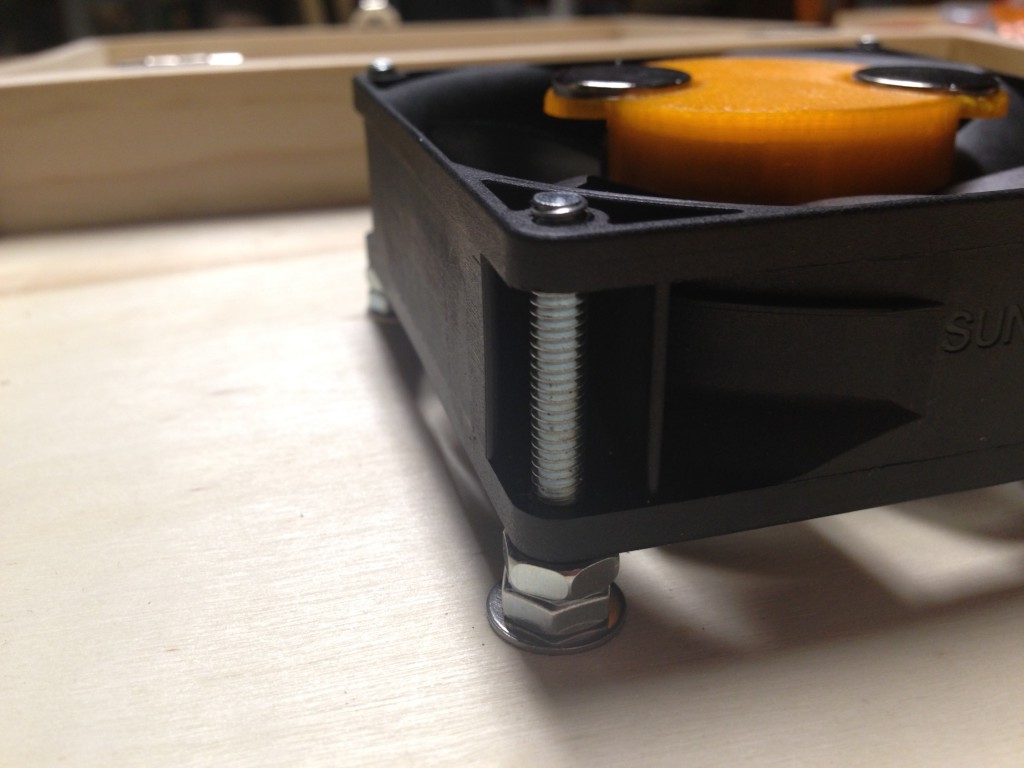
Closer view of the mounting
Drill Holes through Front
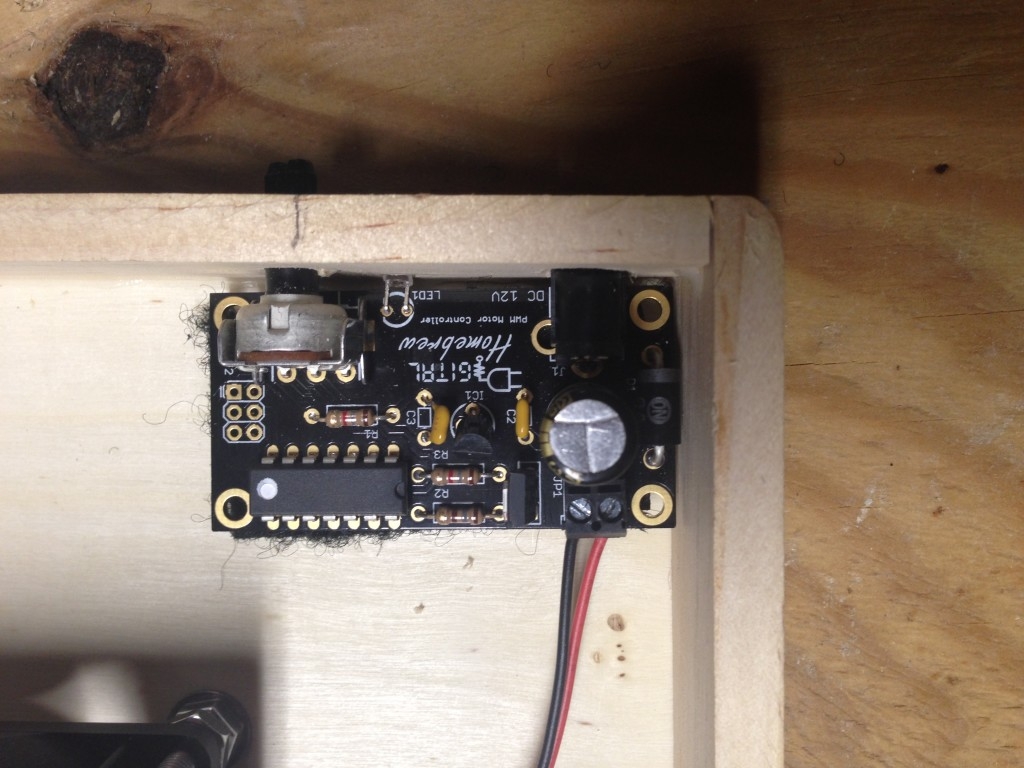
I then drilled holes through the front of the box to match the power port, the LED light and the speed dial. The sidewalls of the box I chose are a little thick but it works. A cigar box would likely yield better results.
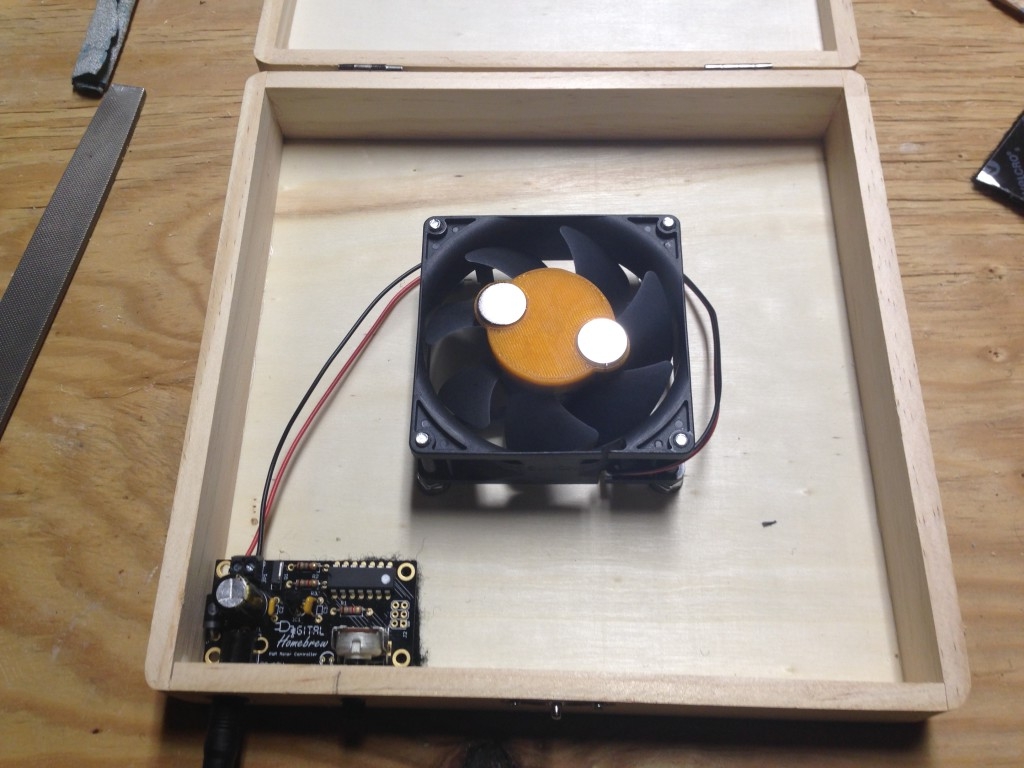
The complete setup, inside view

Action Shot!
Here is a video of it in action, I shot the video right before I mounted the controller: